A difference in review, we review a PIE, No seriously, we do. This was a Chicken Pie from Morrison's when my mum was on a shopping trip a few weeks ago. Its something that was just on the top of my head when doing a home visit hours before. Costing £2, this was well worth it, or was it.
The video is below for people that want to see a easier review.
The Patriotic Packaging
This was actually a really British feel to it, with the union jack and the coronation fonts, it makes it seem like a classic British meal or even comfort food. The sides all have the same design on which is a surprise compared to most products I've reviewed in the past. There is High in Fat and Saturates, which for people is a no no, but for feabie members there is a yes to those in the 😍 consequences. Also there is wet signs due to this being defrosted. This is also nice to help that brexit spirit
Add caption
This is the side of the box
The massive amount of details on the back
Then we look at the Pie, which is a nice standard and large roundness which is what comfort food like this should be shaped like. The foil is not as stiff around it, so don't expect it to stay in upside down, but it does stay in when slightly thrown up in the air.
The Pie
See how loose it is in the Case of tin foil
Time To Cook
This is the part, now the instructions are pretty accurate as far as from my experience is concerned, since if chilled, its a 35 minute cooking in the own at 180C. Which I originally did at 200 but lowered it to be more precise with the instructions. I put it on a tray (which i used to cook a 40 piece of chicken a few days before). It fitted which was nice, then in on the top shelf and set for 39 minutes to go.
In the Oven
The timer starts
So, While waiting it to cook, I played Pacman 256 for a bit which is a good time passing. But soon it was coming up to 12 minutes, So i had a check on it, which it was starting to look crispy on the pastry and the heat inside was getting there.
The Pie was looking good
Cutting it and the meat was looking alright inside.
Soon, after extending it for another 20 minutes or so, it was finally ready after that.
The Dishing and tasting
Here we are, the Pie was ready, I cut into it and it looked hot and gooey with steam coming out of it along with the pastry nice and nearly fully black. So I cut it out, or managed to then dished it out, mmmmmmm.
The Pie is ready and it looks quite nice
Then it was time to get this eaten, which of course, adding sauces and things like Baked Beans to make it classic meal. There were extras but thats on twitter along with my other meals as ususal.
with the beans, funnily enough, it was morrisons branded baked beans
So, it was time to eat, and it was really nice, although it might of been cooler than it looked when I ate it, but the flavour was really there, with a melt in the mouth without cheese and also the mixture of the chicken and ham is nice too. Adding my usual extras made it nice and varied the flavour but on its own, its a nice texture that you don't have to force yourself to eat. With this in mind
omracer's Rating: 7/10
The Good Points:
Nice size
Good Value
Patriotic or brexit design
Easy to get the pie out of the box
Loose Tin
Nice flavour
The Bad Points:
Can be tricky to cook if your not sure on times
Can be fattening if your not a feedist
Getting the slices cut up and put on the plate can be tricky without making it fall on the floor
More Reviews coming in the next week, maybe more mini food ideas.
So, this review was actually planned but finding the time to get this up was a nightmare almost, but on a day off from work and home alone, I found the time to make this, which was actually 3 hours. This one i've really liked doing minus the fact that i nearly burnt my nose on Wasabi. But the long video review is below.
Now this has a sophisticated design which the box really does show off what is included as well as extras that would suit the kit very well. The back has tiny ingrediants sticker which makes all the difference with how presentable the thing is and it makes it look like its a need to ignore. Also the sides of the boxes are pretty basic minus a EAN code and Importer to join an oct 2017 expiring sticker.
The top of the box
The sides of the box
The other side feat stickers
The bottom of the box has a ingredients list which is actually quite tiny
Unwrap a sushi kit
With that in mind, it was time to unbox the thing and see whats inside, which was a sealed range of bits that were ideal to make sushi such as:
Bamboo Rolling Mat
Rice Vinegar
Rice Paddle
Sushi Vinegar
A cookbook
Wasabi Powder
Ginger
Nori Rolls
Dark Soy Sauce
Which it was layed out in a nice position in the box, it worked in a nice way, which allowed me to get the items out in a neat way. Maybe the book was bent but it still was packaged nicely.
Lift the box up and this appears
Unpack it and this is the contents
for people that like the bright pics.
Making the required rice
Now i browsed the cookbook and it was quite full of information that was nicely detailed as well as the fact that there were a nice variance of recipies from traditional sushi to Japanese omelettes. There was one recipe that most things referenced, Sushi Rice. Now this was not as easy as it says and i improvised which worked reasonably well. To be honest the steps were a bit confusing with the wash and mix the rice but i'll simplify the recipe.
Pour rice into a bowl, about 2 cups full
Pour 2 cups full of water into same bowl
Mix the contents with your hands and
when water is really cloud, empty bowl into a siv (i tried) or strainer and then drain the water out.
Pour the rice into the bowl
Pour water into bowl
Repeat steps 4 5 and 6 until there water is not cloudy or until you really cba to do it anymore.
Put rice and water into saucepan that fits lit
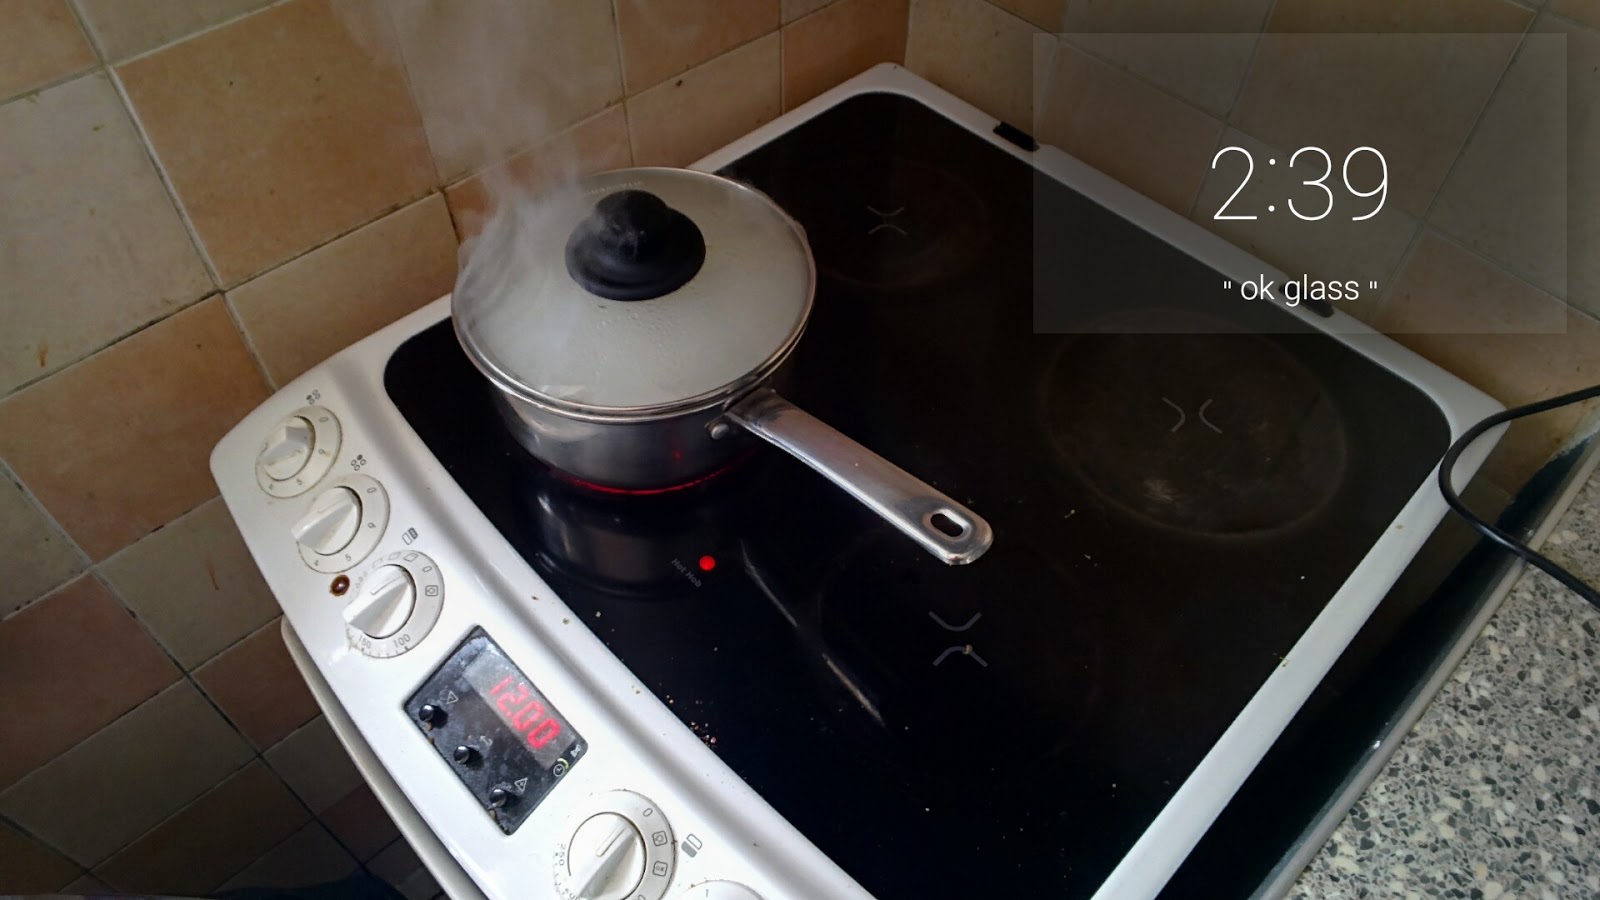
Put cooker hob on mark 3 or 4 (a medium heat).
Let it boil for 10 minutes
Raise the heat to high for 2 minutes
Lower it back to med high for 10 minutes
Put off hob and let it cool down with lid in for 10 minutes
When cooler take lid off, get rice into a plastic container or bowl. plastic else the metal and vinegar make it dangerous to eat from the books hints.
Use the paddle to ease the rice about until its smooth
Pour some Sushi Vinegar on and keep paddling
cover towel over it and let it cool.
Done
So thats the basic steps which kinda of seems easy but it can take its time.
Step 3 mostly
whyen repeating step 3,4,5
Getting it steamed, before i realised i over did it
the finished result after paddling it and mixing the vinegar
To actually making a sushi Roll.
This was the fun bit, since its the part which is cool. Now this was the closest recipe i could find to a standard looking sushi meal in the book, the Cucumber roll. Which i changed cucumber to Salmon and didn't add the seeds since i didn't have any. Which this bit was quick and a simple way to sum it up was:
Get a bowl
Put 6 tbsp of water and 2 tsp of rice vinegar in the bowl, this becomes the sushi glue.
get one nori roll, place it on the bamboo mat.
Cut that roll in half so it looks like a rectangle or strip.
Get your meat or cucumber.
Cut that up into lengths that are no longer than the length of the roll.
if you have more than the length, then that is used for repeated rolls.
Dip your hands in the vinegar mix
Get your hands in the rice bowl from earlier and make a tennis ball shape out of a handful
Then place that on the roll
flatten it out evenly, leave a gap near the edges
Make a flat groove/grove in the middle, i used a knife.
Get a bowl, put some wasabi power inside
Fill that bowl with a bit of water, not much
Mix the bowl until a paste appears
trace a finger and glide it on the paste, aka scoop it with a finger.
place the fingered paste onto the grove on the roll, this is like buttering a sandwich style thing.
lay a strip of your chosen filler (salmon for me) in that grove, make sure its reasonably straight.
Now start to bend the bamboo mat like a tidal wave to it makes it into a roll,
Squeeze each end and centre.
unwrap and all sorted.
Even though the roll didn't go around the full way, it was looking reasonably presentable which was nice, But for a beginner its a nice attempt.
Preparing the mat for the food
After rolling it, it sticks together
Then you cut it and it looks legit like sushi
Then it was actually tasting like sushi, maybe i didn't add soy sauce the first time but it was nice minus the fact i added too much wasabi and my nose was on fire, so much so i had to walk.