So, this review was actually planned but finding the time to get this up was a nightmare almost, but on a day off from work and home alone, I found the time to make this, which was actually 3 hours. This one i've really liked doing minus the fact that i nearly burnt my nose on Wasabi. But the long video review is below.
You can buy it HERE if you like.
You can buy it HERE if you like.
The outer Box.
Now this has a sophisticated design which the box really does show off what is included as well as extras that would suit the kit very well. The back has tiny ingrediants sticker which makes all the difference with how presentable the thing is and it makes it look like its a need to ignore. Also the sides of the boxes are pretty basic minus a EAN code and Importer to join an oct 2017 expiring sticker.
 |
| The top of the box |
 |
| The sides of the box |
 |
| The other side feat stickers |
 |
| The bottom of the box has a ingredients list which is actually quite tiny |
Unwrap a sushi kit
With that in mind, it was time to unbox the thing and see whats inside, which was a sealed range of bits that were ideal to make sushi such as:- Bamboo Rolling Mat
- Rice Vinegar
- Rice Paddle
- Sushi Vinegar
- A cookbook
- Wasabi Powder
- Ginger
- Nori Rolls
- Dark Soy Sauce
Which it was layed out in a nice position in the box, it worked in a nice way, which allowed me to get the items out in a neat way. Maybe the book was bent but it still was packaged nicely.
 |
| Lift the box up and this appears |
 |
| Unpack it and this is the contents |
 |
| for people that like the bright pics. |
Making the required rice
Now i browsed the cookbook and it was quite full of information that was nicely detailed as well as the fact that there were a nice variance of recipies from traditional sushi to Japanese omelettes. There was one recipe that most things referenced, Sushi Rice. Now this was not as easy as it says and i improvised which worked reasonably well. To be honest the steps were a bit confusing with the wash and mix the rice but i'll simplify the recipe.
- Pour rice into a bowl, about 2 cups full
- Pour 2 cups full of water into same bowl
- Mix the contents with your hands and
- when water is really cloud, empty bowl into a siv (i tried) or strainer and then drain the water out.
- Pour the rice into the bowl
- Pour water into bowl
- Repeat steps 4 5 and 6 until there water is not cloudy or until you really cba to do it anymore.
- Put rice and water into saucepan that fits lit
- Put cooker hob on mark 3 or 4 (a medium heat).
- Let it boil for 10 minutes
- Raise the heat to high for 2 minutes
- Lower it back to med high for 10 minutes
- Put off hob and let it cool down with lid in for 10 minutes
- When cooler take lid off, get rice into a plastic container or bowl. plastic else the metal and vinegar make it dangerous to eat from the books hints.
- Use the paddle to ease the rice about until its smooth
- Pour some Sushi Vinegar on and keep paddling
- cover towel over it and let it cool.
- Done
So thats the basic steps which kinda of seems easy but it can take its time.
 |
| Step 3 mostly |
 |
| whyen repeating step 3,4,5 |
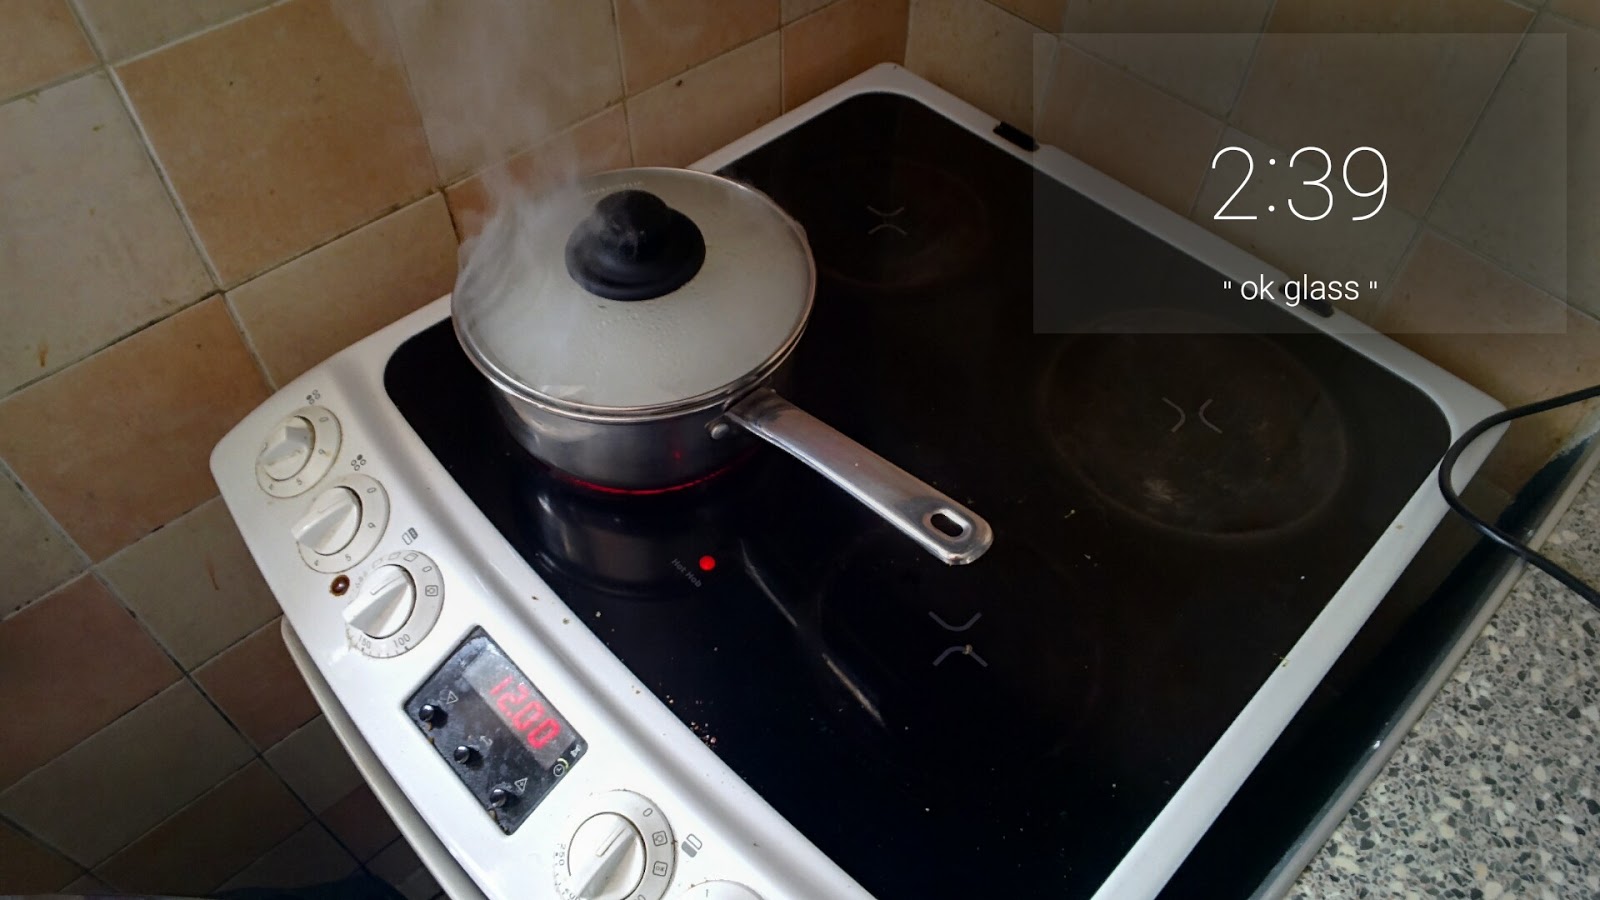 |
| Getting it steamed, before i realised i over did it |
 |
| the finished result after paddling it and mixing the vinegar |
To actually making a sushi Roll.
This was the fun bit, since its the part which is cool. Now this was the closest recipe i could find to a standard looking sushi meal in the book, the Cucumber roll. Which i changed cucumber to Salmon and didn't add the seeds since i didn't have any. Which this bit was quick and a simple way to sum it up was:
- Get a bowl
- Put 6 tbsp of water and 2 tsp of rice vinegar in the bowl, this becomes the sushi glue.
- get one nori roll, place it on the bamboo mat.
- Cut that roll in half so it looks like a rectangle or strip.
- Get your meat or cucumber.
- Cut that up into lengths that are no longer than the length of the roll.
- if you have more than the length, then that is used for repeated rolls.
- Dip your hands in the vinegar mix
- Get your hands in the rice bowl from earlier and make a tennis ball shape out of a handful
- Then place that on the roll
- flatten it out evenly, leave a gap near the edges
- Make a flat groove/grove in the middle, i used a knife.
- Get a bowl, put some wasabi power inside
- Fill that bowl with a bit of water, not much
- Mix the bowl until a paste appears
- trace a finger and glide it on the paste, aka scoop it with a finger.
- place the fingered paste onto the grove on the roll, this is like buttering a sandwich style thing.
- lay a strip of your chosen filler (salmon for me) in that grove, make sure its reasonably straight.
- Now start to bend the bamboo mat like a tidal wave to it makes it into a roll,
- Squeeze each end and centre.
- unwrap and all sorted.
Even though the roll didn't go around the full way, it was looking reasonably presentable which was nice, But for a beginner its a nice attempt.
 |
| Preparing the mat for the food |
 |
| After rolling it, it sticks together |
 |
| Then you cut it and it looks legit like sushi |
Then it was actually tasting like sushi, maybe i didn't add soy sauce the first time but it was nice minus the fact i added too much wasabi and my nose was on fire, so much so i had to walk.
Then it was time to give it a rating. With that in mind
omracer's Rating: 6/10
The Good Points:
- The presentation is john lewis style good
- You get plenty of things for the kit
- it does let you make sushi without buying much else as a whole
- The cookbook is detailed
- The value is pretty good
The Bad Points:
- some of the recipes require things not listed.
- The instructions for the sushi rice can confuse.
- The time to do this isn't a quick meal style
- This can make a messy sink and kitchen
And there you have it, a review of a sushi making kit. More reviews coming soon.
omracer

 .
.


