So this is one of the times that can make it easier for work and this was also before i get overwhelmed, this was the times of getting things organised. So this review is the chance to enjoy this since it will be better for work in the long run , well minus the bike having its own issue, this did set me back up to £20 from a supplier. Enjoy this video of the review which is a bit delayed.
The Packaging:
So this has actually a nice eco side to it, It was a light brown box which looked recycled on that side, the Image of the mount was shown on the front of it and Ugreen clearly marked, The back of the box was full of small print for that. But this is good in terms if it is not showing much advertising gimmicks and shows what it contains and what it does. The Sides of the box are blank.
The front of the box
The blank front flap of the box
The sides are blank
The top of the box
The back of the box with the details
Once that was there it was a look inside. Which actually was quite easy to get on with, a cardboard layout to separate the parts and the little bag to keep the holder in. But it was easily to know what was inside and even that is on the back on the box of those contents.
The inside of the box.
But then it was showing of the parts and the things inside. From the Screw to the Phone mount to even the little silicone rubber handles to add the pressure of it to the handle. But even when this was filmed, it was so easier to build up with a instant clip.
The back of the phone mount
The Screw and the bracket
A look at the side with the bracket and the phone holder
The bottom side with the bracket fitted
The front of the phone holder
The clip that screws in
Then it was a look at the manual which is quite small but it is very clear to read and shows good indication on how to assemble.
The front of the manual
The inside of the manual
The more of the indiade
Some diagrams of the installing of the mount
More explanation of the mount
The part of the manual to install the phone to the mount
Then it was time to get the bike ready and the mount fitted.
The installation
So this was actually the semi easy part of this, with getting the silicone out then to let the screw rotate into the hole, once it was getting a bit tighter, it was time to get the bike out and ready.
Preparing the bike
The bike was best mounted on the left hand side near the electric control panel, so it was nice and easy to screw in. Once it was screwed in, it was firm and ready to sort out. Not much to worry on. The only thing is the lock is quite ease to flick on some angles when rotating it.
The Bike mount on
The Phone now fitted on the bike mount
The only other issue i would say is the fingerprint scanning will not work on phones with it on the back but if its on the side thats fine, so for Whatsapp, i will have to not use it on the go or disable fingerprint which might be easier for me to do.
A side view of it
This is how it looks in the front part
But then it was a bit more cleaning and it was time to get some testing done.
The Tests:
#1: General Cycling
So this was actually quite good, so it did not have any issues once the lock was used on the both the handlebar and the phone mount lock itself. It did not shake rapidly on the road, even with some minor potholes here and there.
#2: Photos and Videos,
So actually this is probably the worst of it, but the Photos can be taken since the camera is not completely covered on the back so you can take some photos from it, but the quality is not ideal. But the front camera is fine with no restrictions at all. I mean this is not really designed as a recording mount.
The blurred view of the rear camera
A Bit more clearer when roated to landscape view
The selfie from the front camera
All in all for calls or say talking live streams this will be fine, for recording what you see, this will not do and need something else or a Action Camera with bike mount.
Test #3: Bumpy Roads.
Now this was actual a lot better than I expected since it kept its form quite firmly in even with the mount vibrating from the rocky surface that I had walked to. So actually this was looking good from what I would end up doing quite a lot of with some of the lanes and roads in the area not being as smooth as they should be.
The Conclusion:
So this actually does what it says, is easy to setup and move to other bikes if this Elife does pack up (Less than 2 years and most parts replaced on it already) and also it means i can flirt, check Meta messages and even go live on insta and tiktok if needed eventually. So that job is fine for, but for other recordings its not going to work here.
omracer's Rating: 8/10
The Good Points:
Decent value even if online seems to be cheaper
Easy to fit to both mount to holder and mount to bike
Rotateable
Expands to fit various phones
Adjustable
Clear instructions and indications too
The Bad Points:
The lock can interfere when wanting to rotate it
Might be harder to find since UGREEN don't show it on the UK site
The top right frame covers the Camera partly
Back Panel fingerprints will not work
Well thats the review and even with the pedal and pedal arm breaking after this was filmed, it takes a week to get this back up to finally sort this on top of the issues thats happening with me lately. For now, expect more reviews in the coming week, 1 down, 3 or so left to go.
Now this was a fair bit of time ago, but this is a quick review for ANOTHER phone tripod since I've actually lost the previous one from digipower on that side. But this was from B&M back in February when it was dealing with things I've sort of explained on my other blog. But as the B&M post suggests this was reduced to £3 and that is incredible for this. So let's explore.
The Packaging
It does have the B&M Aesthetic along with a blue and purple background for this From the Bold font to the pictures. But it also was made for B&M so it has to have their branding for sure. The sides have the clearness of what it does and there are a lot more details on the back for it too. It does show clear pictures of the tripod itself but not so much of the holder side and even no sign of the remote it comes with unless you look on the back of the box
The Front of the box
A look at the tripod from the side
The back of the box
The bottom of the box with the Logos and barcodes
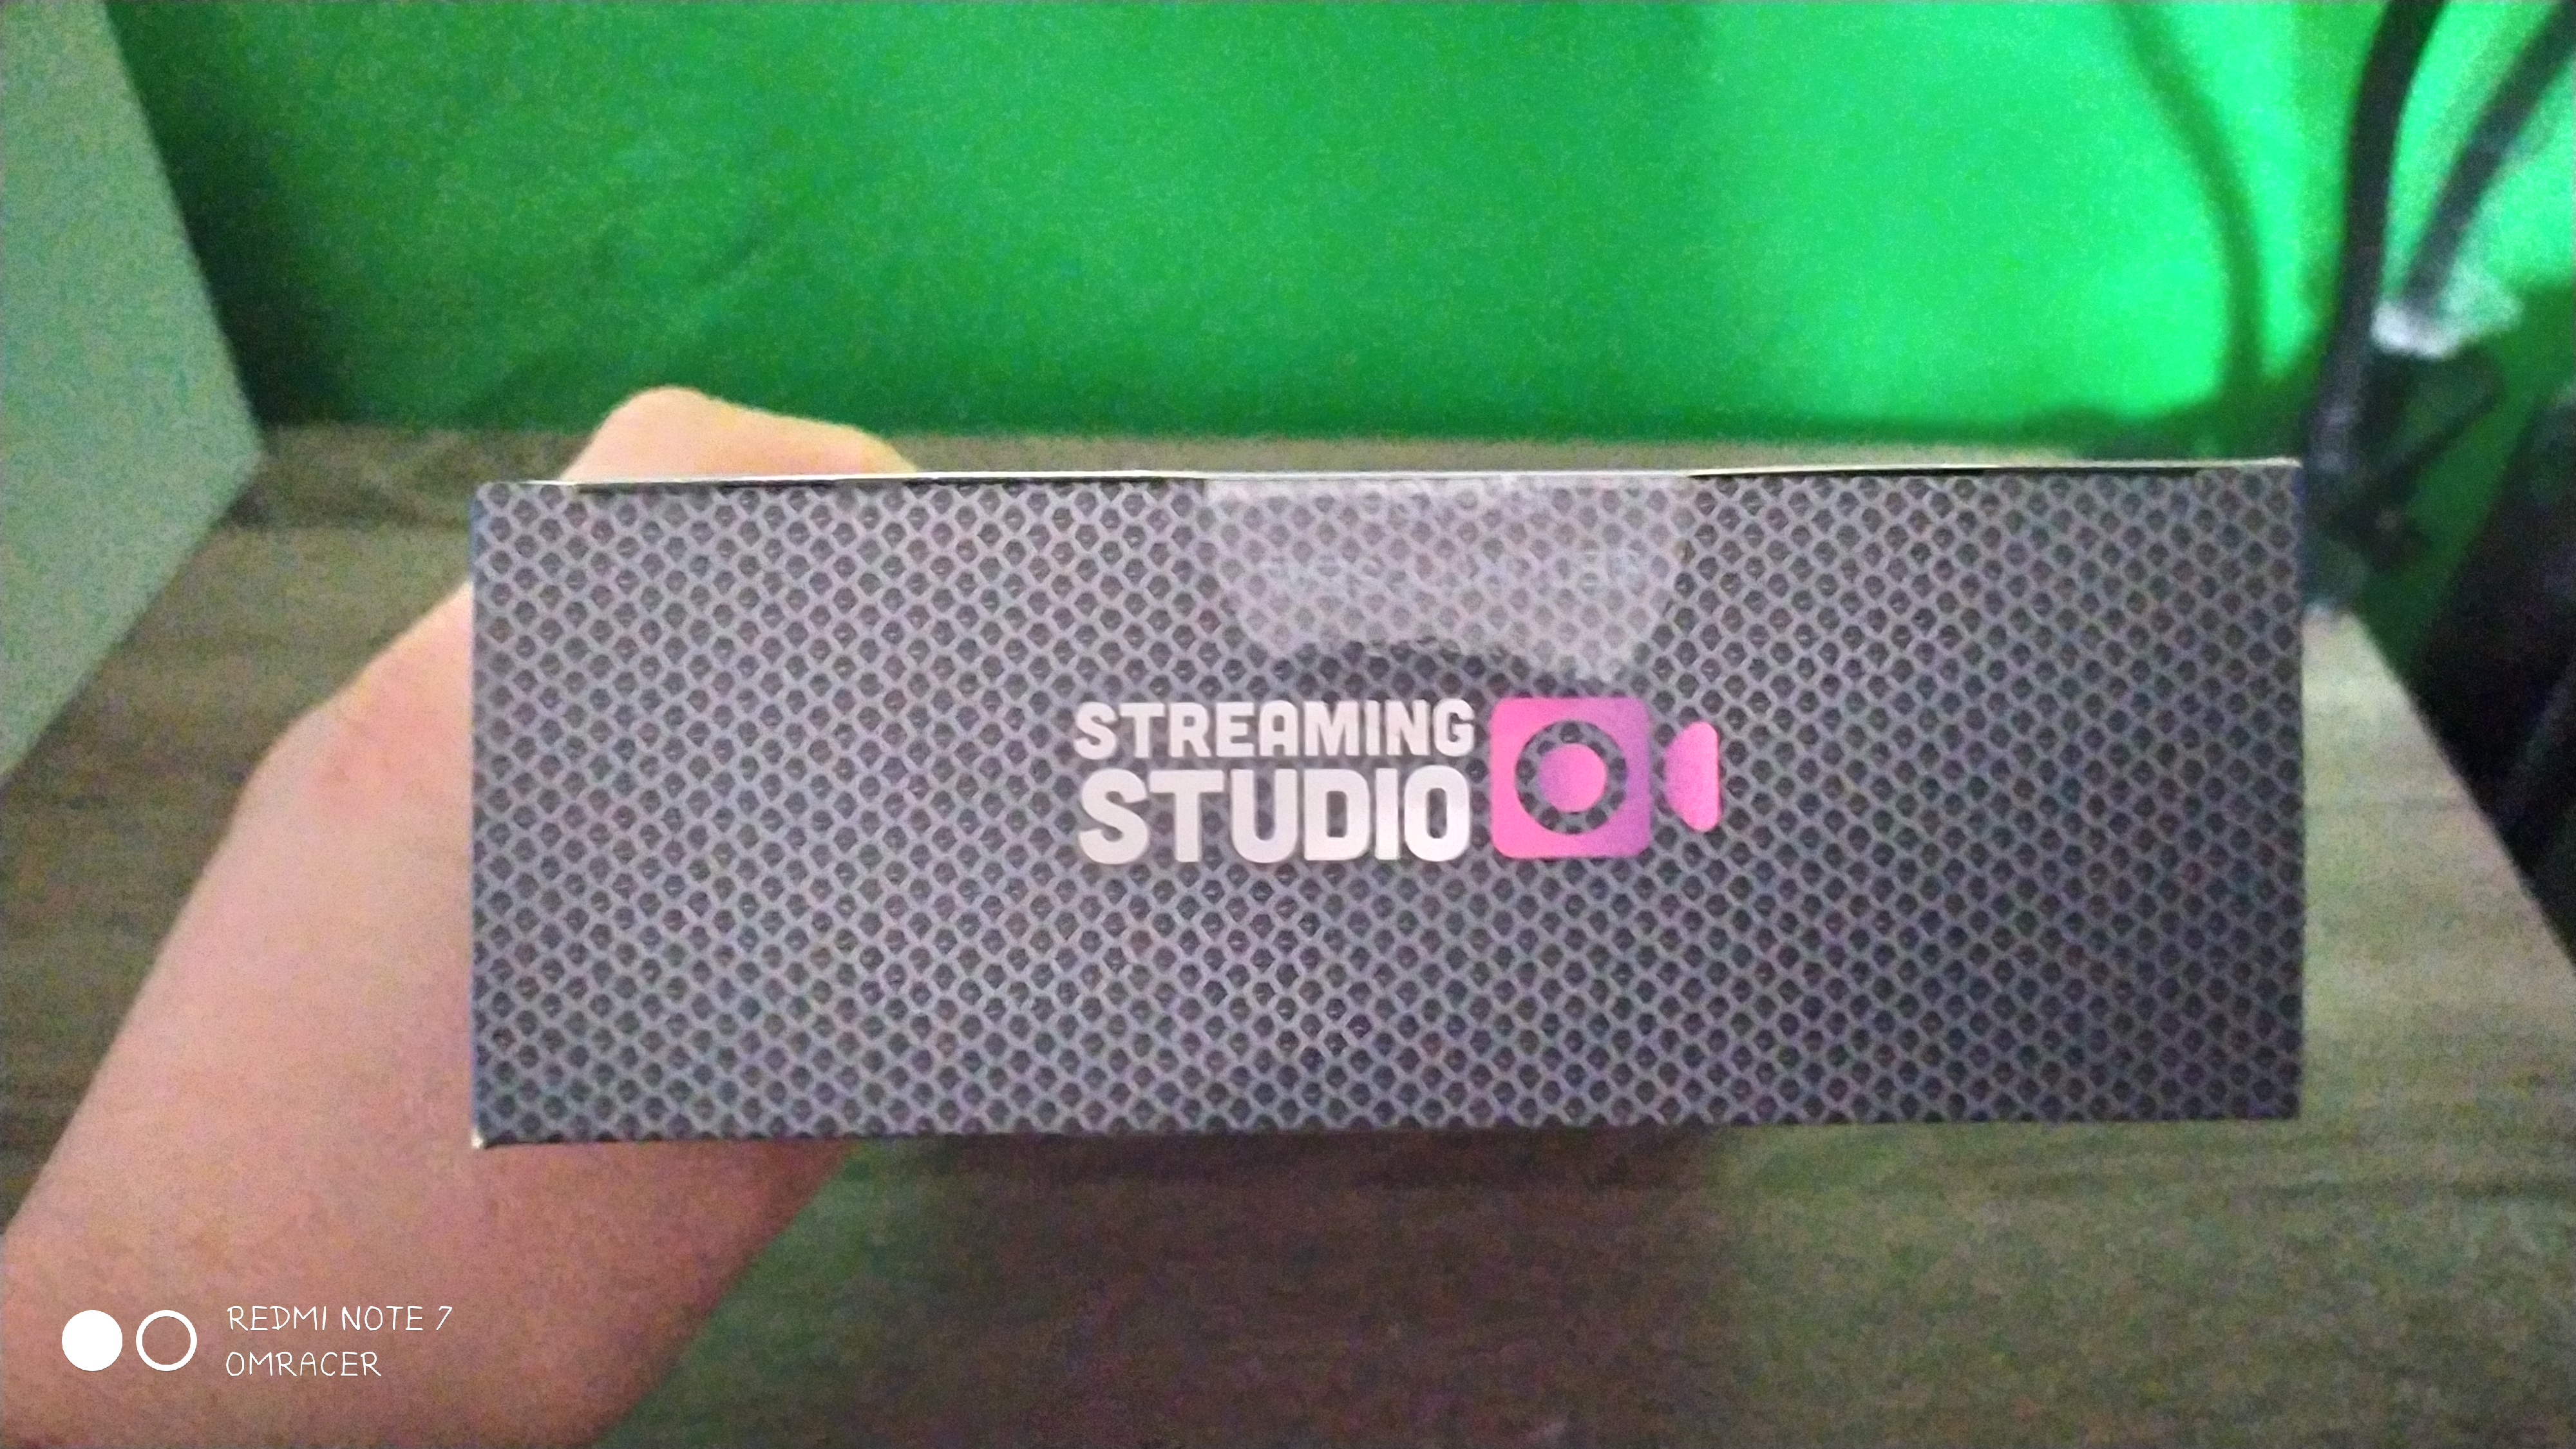
The streaming studio logo on the top of the box
But that is how it goes, it is nice to see those remotes back in trending. But then it was time to have a look inside.
Inside the Box
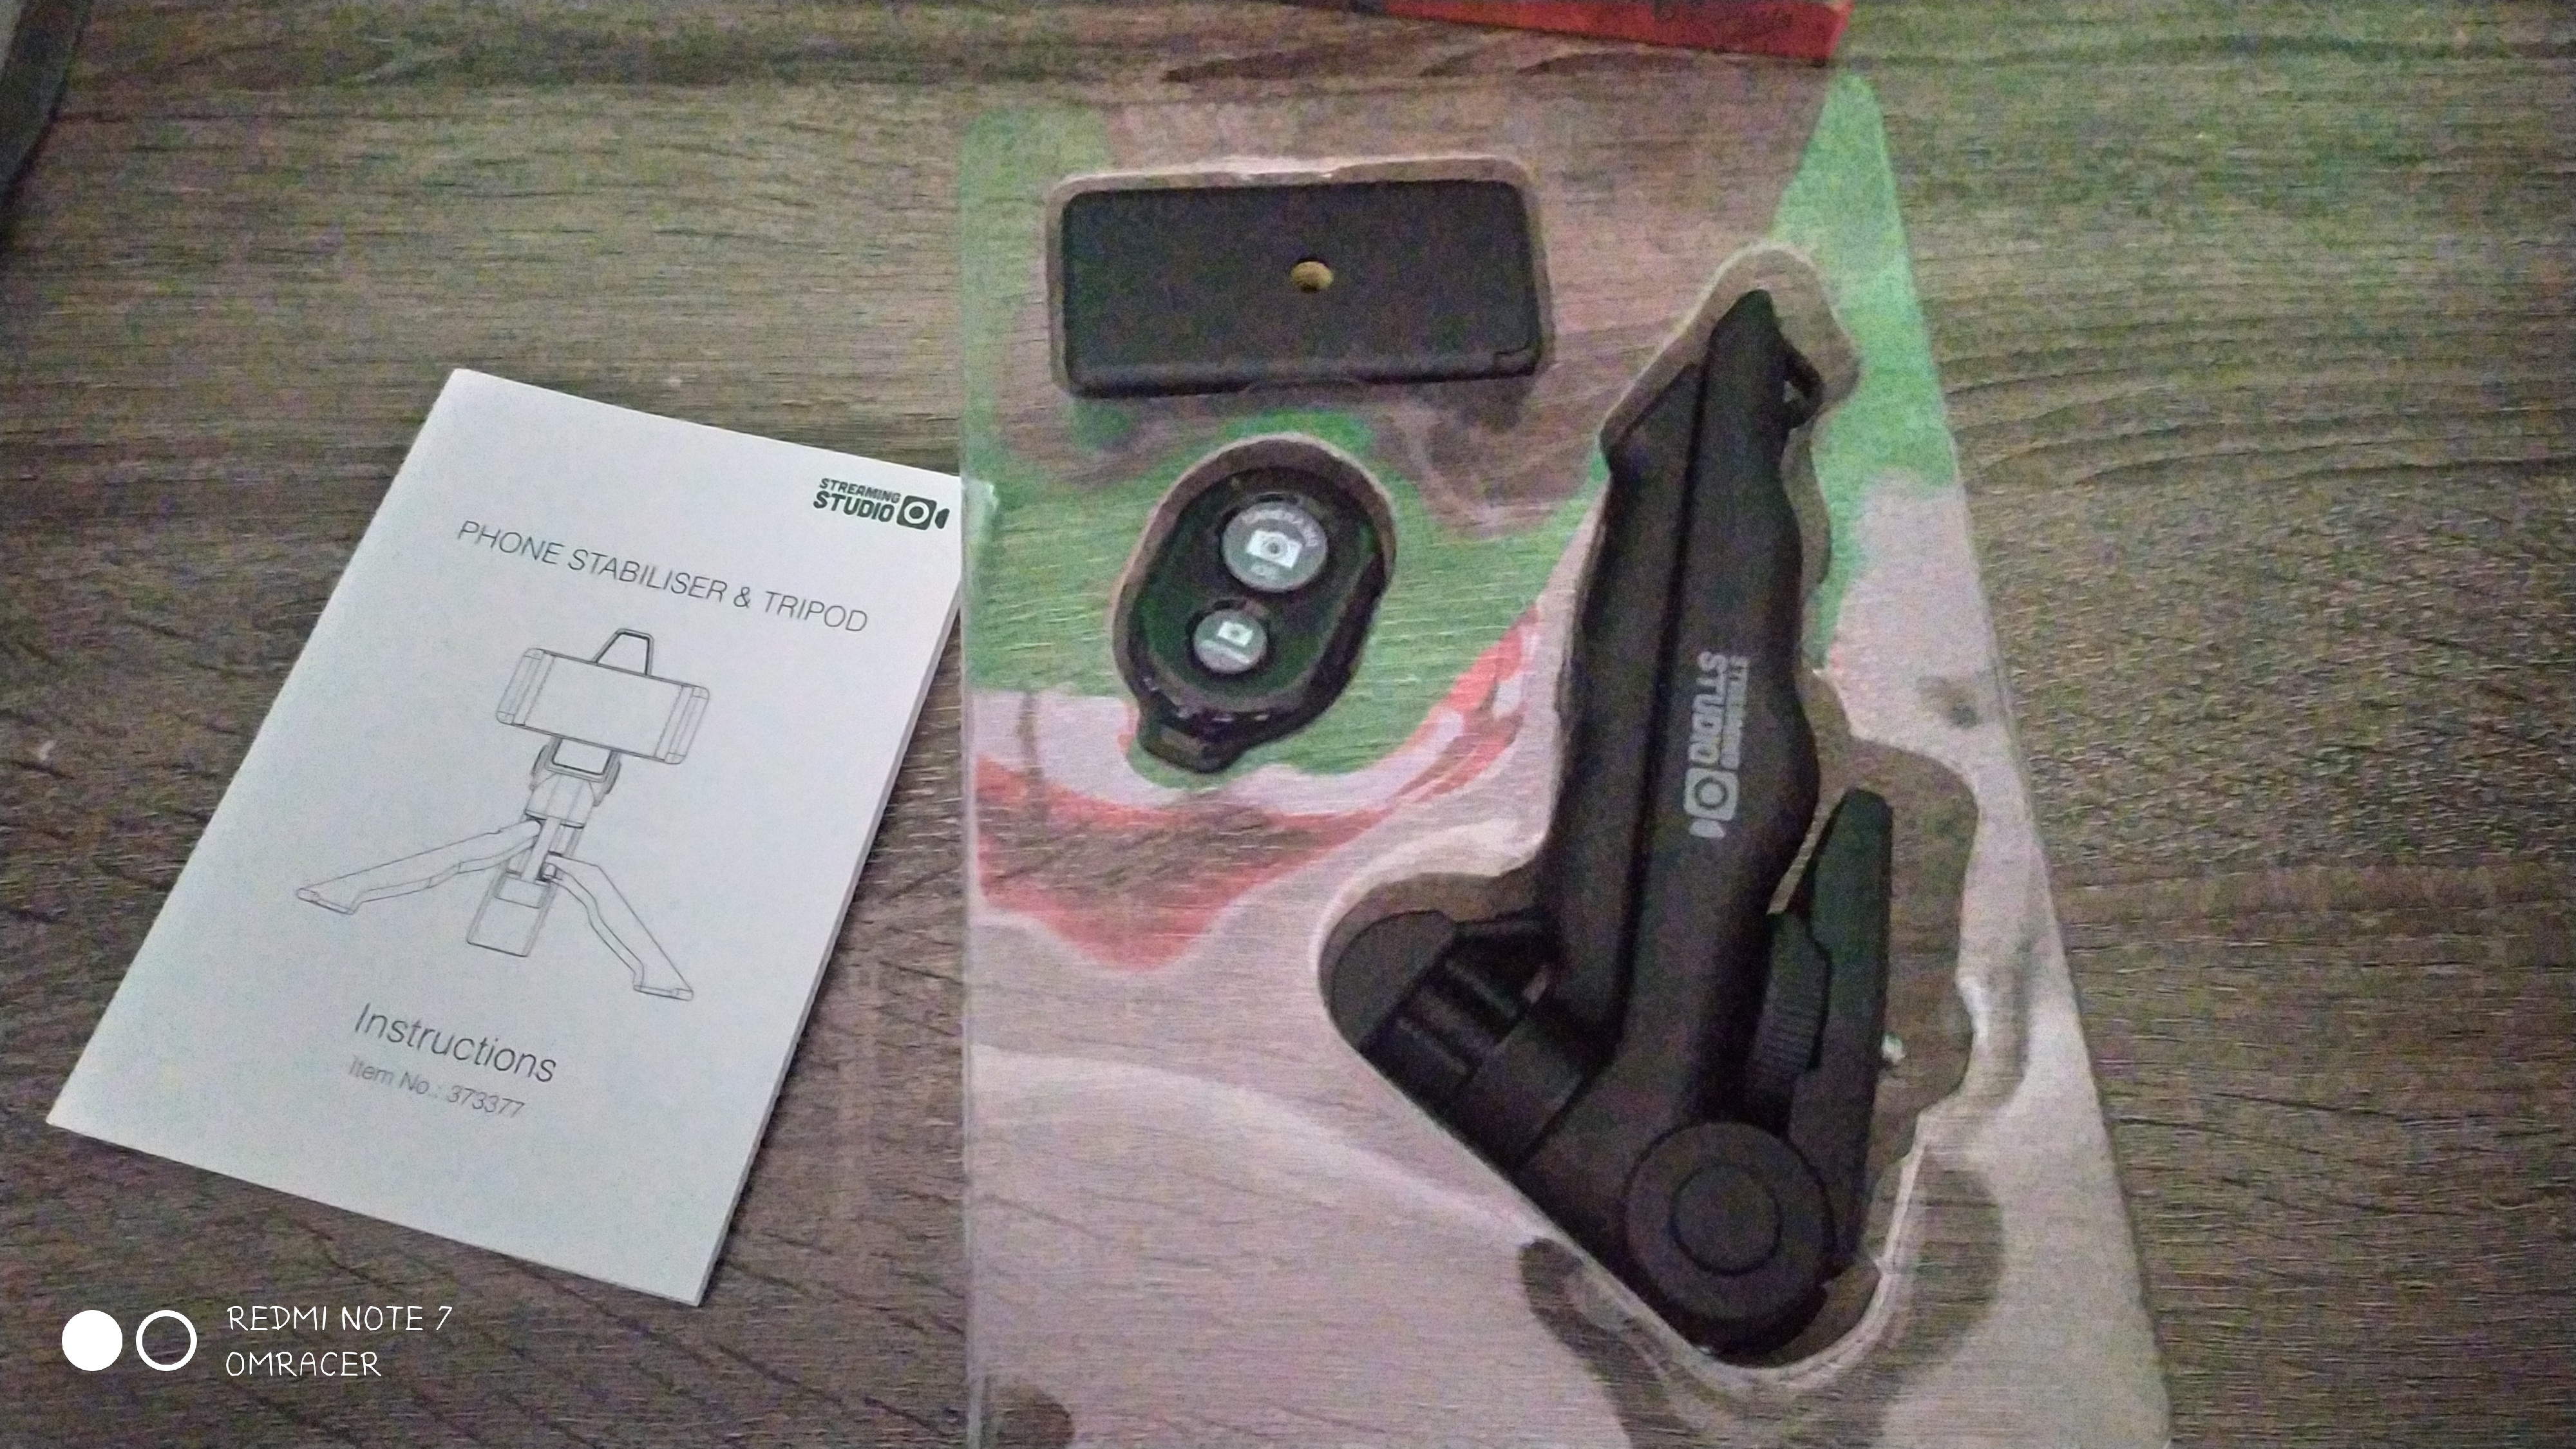
To be fair its a very simple bit of plastic mould for those 3 bits, like the battery, the stand and the phone holder, then a clear English manual, that is the best touch for a change compared to other reviews in the past which has been for the multi-market or the imported market.
The layout of the inside of the box
The Tripod:
Well, this is almost exactly like the digipower but it does have the extra strap and some extra holes. The strap is a nice feature but the tripod is the same way.
The trippood from one side
a FRont look at the tripod like before
From the right side of the tripod
from the left side of the tripod
The Phone Holder
It's the standard 2 hold design that was used from the digipower and that means the compatibility is the same and makes it easier for the other options. which means its useful for Phones and also action cameras if needed to go down that route.
The phone side of the holder
The screw hold on the back of the holder
The bottom of the holder
The Bluetooth button
In honesty, this is a nice touch and simple, basically, its a Bluetooth volume down button which both Android and iOS have used for the Take picture button, Its is a nice simple one, the strap is nice the Battery is the CRC2032 one and a switch in the bottom right-hand side is a good touch too.
The top of the remote
a blurred look at the switch on the right-hand side
The side of the remote
The bottom of the remote
The Manual,
The font is big and the spread out is clear and easy to read, so this is a nice way to help guide on how to turn it on and use the remote as well as assemble the tripod.
The front of the manual
The first inside pages of the manual
the back of the other 2 pages
More pages
The back other pages
Well with all of that out of the way, it was time to test.
The Testing:
To be fair, it's the plan of the simple screw-on way with the bottom section to then get it attached from the holder to the tripod, the holder slides to let a phone fit in, the grab tab does well for this and keeps it stiffly in place. It feels and holds pretty much the same as the digi power and gives it an easier grip and a bit of length, well very short length since it's not a selfie stick, (I still have one).
The selfie with it
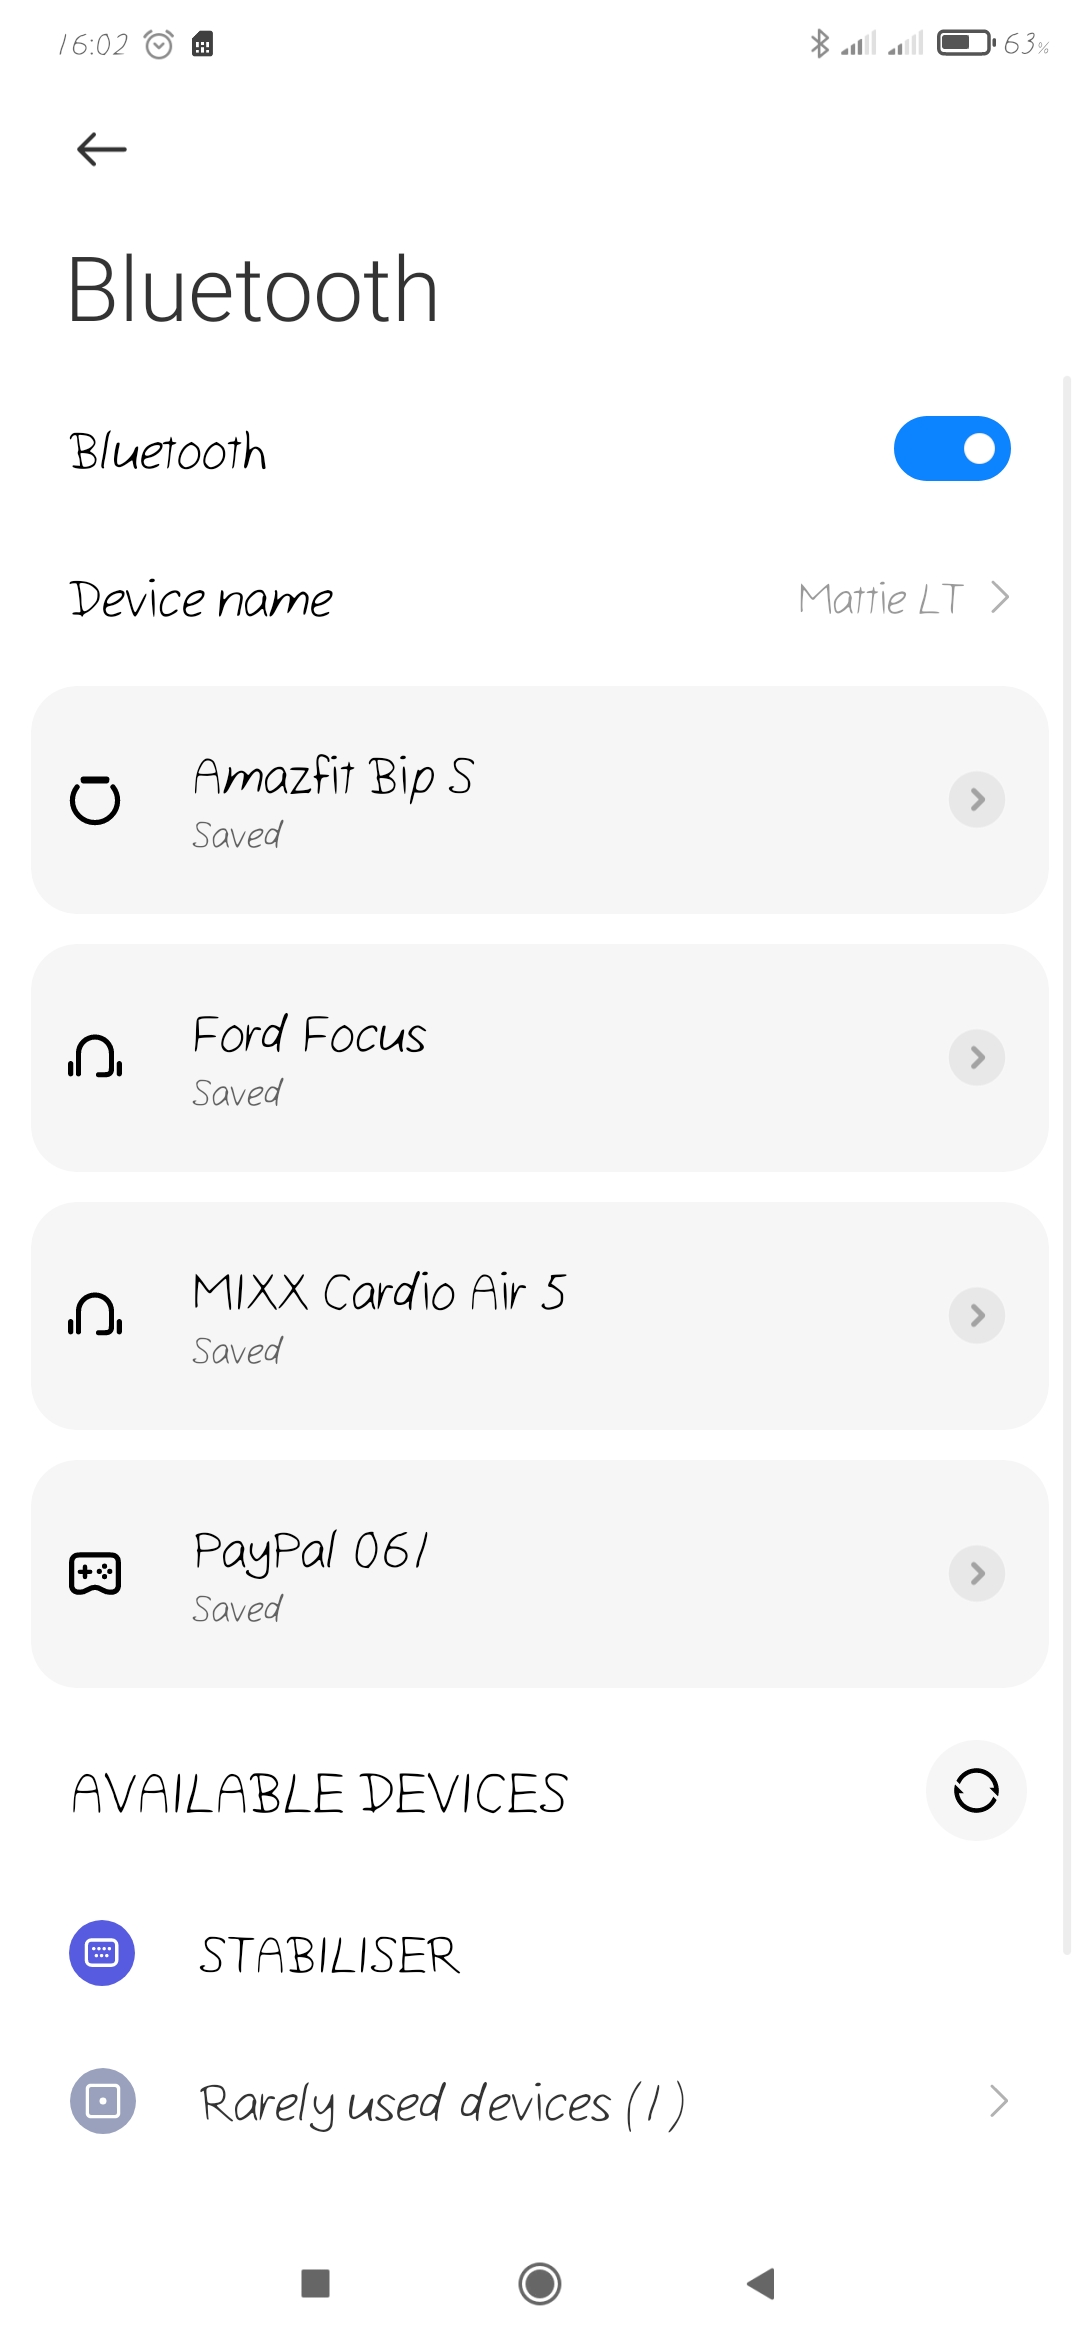
But then it was time to test the remote and it paired pretty quickly, I switched it on after pulling the tag out and the blue light flashed then it appears in the Bluetooth settings for sure easily.
The remote off
The remote is now showing the light
The Bluetooth settings with it paired
And then it was a press of the button NOT in the camera app to then lower the volume, but when in the Camera app, it was time to talk videos and selfies. Well it worked without any hitch from what I see.
Press it
Press it again
Another one
Now it leads to what else can be said, well that about it.
The Conclusion:
Well, it is an incredible price value compared to the digi power for the same thing and will hopefully be making it easier to vlog if I DONT LOSE IT.
omracer's Rating: 9/10
The Good Points :
The value is incredible for this, even at its original price
The remote is a useful idea and works simply
The grip is nice for the tripod
The Bad Points:
The Bluetooth remote is the only volume downside
I have a bad habit of losing the tripod
Well that is is for another way and it can be a case of more reviews to go with Mice and a GPU too. But for now, it is time for a catchup vlog soon.